Every Saturday ushers in my long run. Some weeks I go longer than others. It all depends on my training plan. Usually, whenever possible, I like to treat the runners from my Saturday morning clan, to something rewarding at the end of their efforts. We all, as small groups, run different mileage, or different paces, so I usually have my roommate over at the coffee shop we meet at afterwards with their treats.
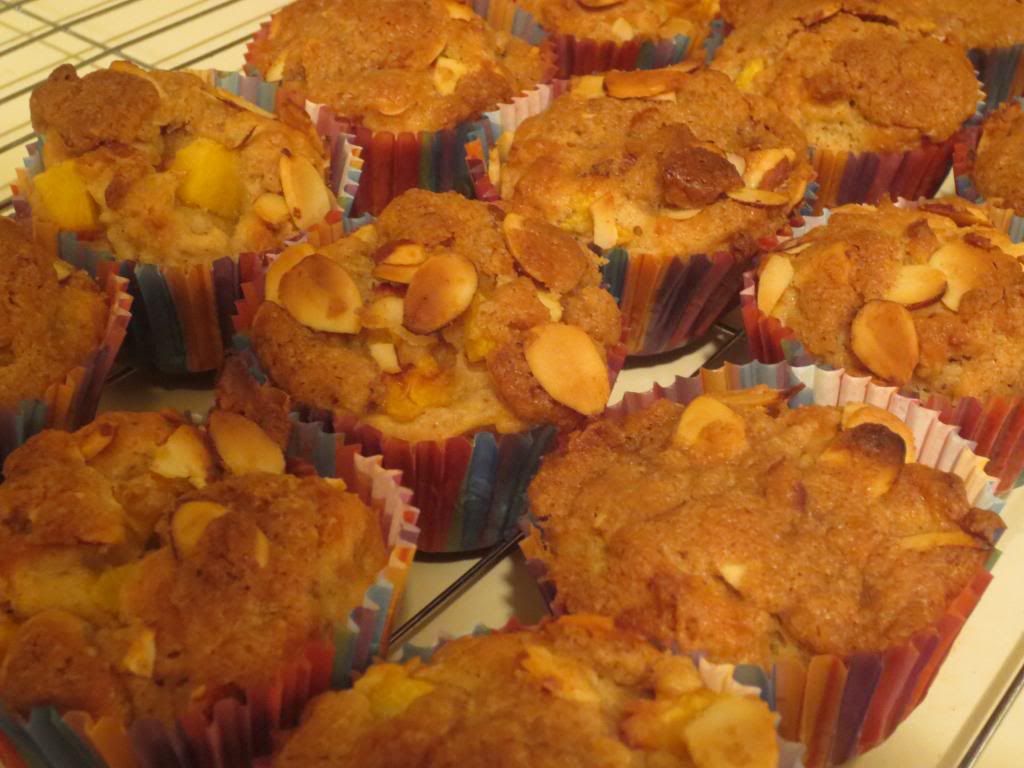
As I had four beautiful, amazing peaches from my CSA bin this past week, I really wanted to make something with them. And it just so happened, that the week prior, I stumbled across an amazing looking recipe from one of my favorite blogs – Two Peas & Their Pod.
All I had to do was modify it to make it gluten-free. Not so hard when you have a fantastic gluten-free all-purpose flour. So, later than planned, on Friday night, I turned on my oven, got out the KitchenAid mixer…and got to baking.
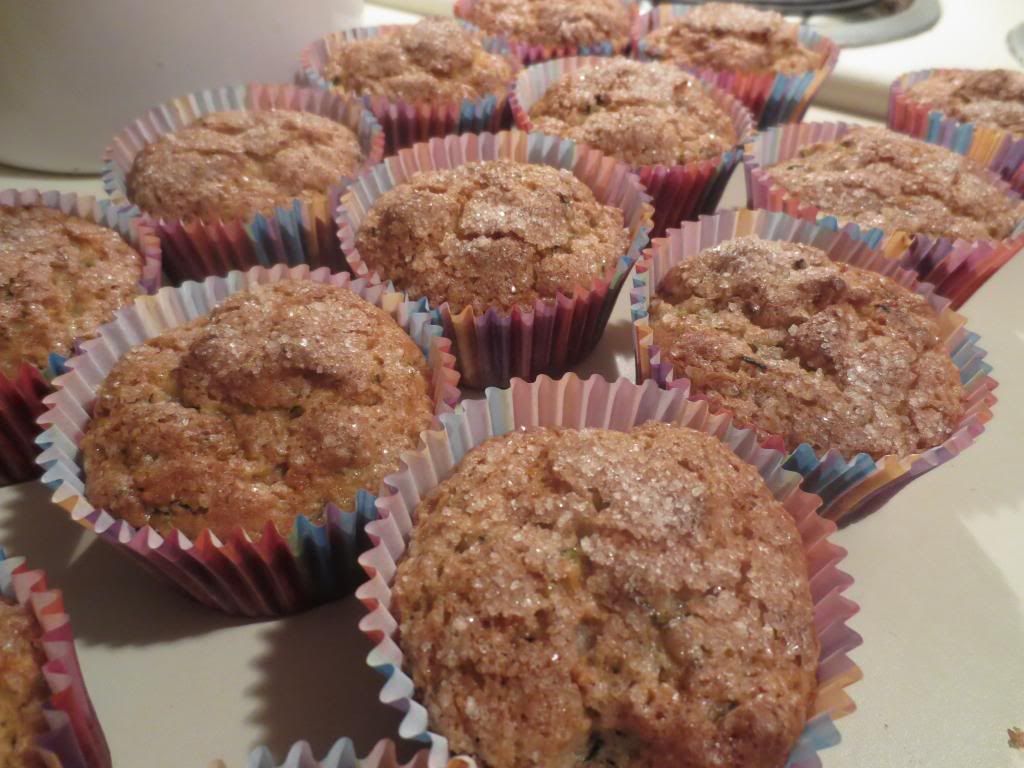
Recipe: Gluten-Free Peach Almond Muffins
Servings: 18
Time: Prep 15 minutes; Bake 20 minutes
Ingredients:
For the Muffins:
- 2-1/4 cups gluten-free all-purpose flour (I used Better Batter)
- 1/2 teaspoon salt
- 2-1/4 teaspoons baking powder
- 1 cup brown sugar
- 1/2 teaspoon ground cinnamon
- 1/4 teaspoon ground nutmeg
- 1/8 teaspoon ground all spice
- 1 large egg
- 1/4 cup canola oil
- 3/4 cup buttermilk (I used unsweetened almond milk)
- 1/2 teaspoon vanilla extract
- 1/4 teaspoon almond extract
- 1-1/4 cups diced peeled peaches
For the Almond Streusel Topping:
- 1/4 cup gluten-free all-purpose flour (I used Better Batter)
- 1/4 cup brown sugar
- 1/2 teaspoon cinnamon
- 3 tablespoons cold unsalted butter
- 1/3 cup sliced almonds
Preheat the oven to 400 degrees F.Line 14 muffin cups with paper liners or grease the cups. Set pan aside. In a large bowl, whisk together flour, salt, baking powder, brown sugar, cinnamon, nutmeg, and allspice. Set aside.In a small bowl, whisk together egg, canola oil, buttermilk, vanilla, and almond extract.Pour liquid ingredients over the dry ingredients and mix gently with a spatula. Mix until just combined.
Gently stir in the peaches.
To make the almond streusel topping, in a small bowl, combine flour, brown sugar, cinnamon and butter. Mix with your hands until you have a crumbly mixture. It is ok to have pea size chunks of butter. Mix in the sliced almonds.
Pour muffin batter evenly into prepared muffin cups.
Sprinkle the almond streusel topping on top of the muffins.
Bake for 18-20 minutes or until a toothpick inserted into the center of a muffin comes out clean. Let muffins cool to room temperature and serve.
~*~*~
These little muffins did surprise me. Because when I snagged one fresh from the oven…split it in half…and taste tested it…I couldn’t really tell that it had much flavor. So, I wasn’t exactly sure that they won me over. My roommate said she really thought it tasted good and encouraged me to go ahead with the plan to package them up and share with my running group.
I am so glad I did, because everyone had high comments on them. I was part of the last group getting back (I ran 16 miles, but the heat and humidity were killer…so it took a little longer), and everyone was finishing up their coffee and post-run refueling. And I saw quite a few muffin wrappers on the plates. Everyone thanked me for them and said they were delicious! Hmm…
Fact is, I do think these muffins are even better on the following day. Give all the flavors a chance to sit and soak into the muffin itself. Because when I had mine…it was fantastic. A little denser than I usually like my muffins, but the streusel topping was awesome and the peaches were really complimented by the different spices that were mixed throughout.
I’d make this again in a heartbeat.
So, if you love peaches and you love muffins…I encourage you to give this recipe a try. Super delicious. Runner approved.